
Published On : December 7, 2021
How to record screen on an iPhone? Simple-step Guide
by: Miti Sharma/ Category(s) : Mobile Apps, Smart Phones
Whether you want to preserve a clip from a game you’re playing, record part of a live stream on Instagram, or make a how-to video for your friends, it will be very useful if you screen record your iPhone screen. You can send the video clip to a relative or friend, publish it on Twitter, or share it on Instagram. Whether you have a newer or older iPhone, here are the steps to screen record your iPhone screen.
Screen record iPhone has to be built into iPhones, but you must first check to see if the screen record button is there in your Control Center in order to utilize it. If you have an iPhone X or later, swipe down from the top-right corner to activate the Control Center; if you have an iPhone 8 or older, swipe up. Check for the screen record button, which is shaped like a dot with a circle around it. If you don’t have it, here’s how to get it:
- Open the Settings menu.
- Tap “Control Center” from the menu.
- Hit “Customize Controls” from the drop-down menu.
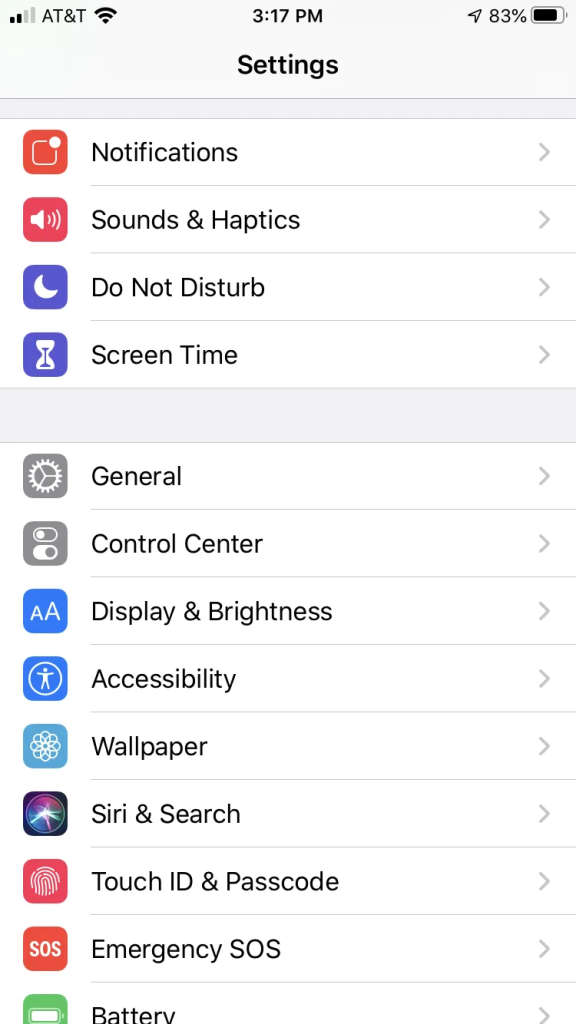
- This is where you may customize your Control Center menu by adding and removing things. Scroll down to “Screen Recording” and tap the green icon with a plus next to it. This will shift it from the bottom of the “More Controls” section to the top of the “Include” section.
How to record you iPhone screen?
You’re all set to record your screen now. (Just be aware that certain programs prevent screen recording.) To begin, consider the following:
- Open the app or website where you wish to make a recording.
- Swipe up from the bottom-right corner to bring up the Control Center menu (iPhone 8 or before), or pull down from the top-right corner to bring up the menu (iPhone X or later)
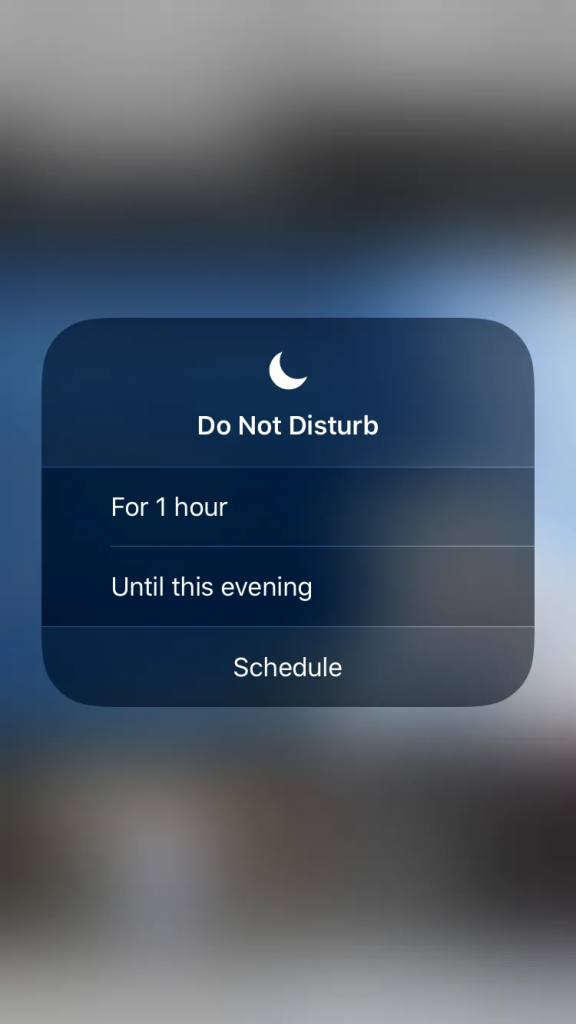
- Turn on Do Not Disturb by tapping the crescent moon button, which will momentarily pause calls and notifications. This is useful because when you record your screen, everything that appears, including notifications, is recorded. You’ll see more options if you tap and hold the Do Not Disturb button, such as turning off notifications for an hour or schedule when you want to pause them.
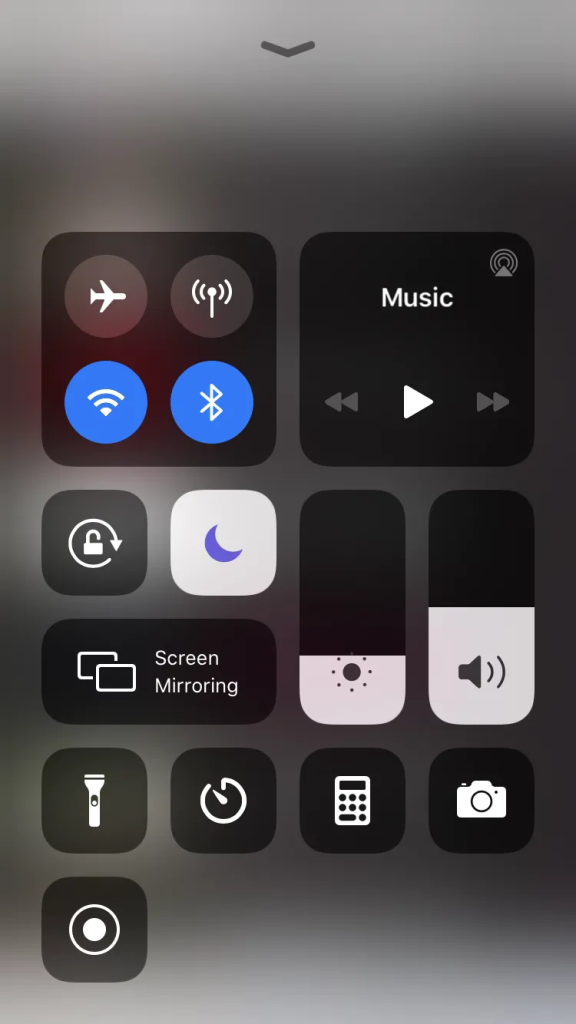
- To begin recording, tap the screen record button while still in the Control Center. When you press the screen record button, a timer begins, giving you three seconds before the recording begins. Hide the Control Center menu by tapping the screen.
You’re now ready to record both the video and audio of whatever you’re watching or listening to on your phone — but not any audio that isn’t generated by your phone. You’ll need to switch on your microphone if you want to record yourself talking (or any other external sounds) in addition to the audio you’re playing on your phone.
- Press and hold the screen record button before you begin recording. Turn on the microphone by tapping the microphone button on the pop-up screen. Then press the “Start Recording” button. In this window, the countdown will begin. To quit a screen, tap anywhere on it, then hit the next screen to shut the Control Center.
- Keep in mind that until you go back in and turn the microphone off, it will remain on the next time you record your screen.
- Swipe up (or down) to return to the Control Center and hit the record button once again to stop recording.
- You’ll notice a red bar at the top of your screen (or top left if you have a recent iPhone) indicating that you’re recording unless you have media open (for example, you’re watching a YouTube video or Instagram story). If you tap on that bar, a pop-up window will appear, asking if you wish to stop recording. “Stop” should be pressed.
- The film will be saved in your Images app among the rest of your photos and videos.
How to Use a Mac in order to Record a Video
You can also record a video from your Mac using built-in tools and a normal Lightning-to-USB cable if you have an iOS 8 or newer iPhone and a Mac running Yosemite or higher. Because your iPhone or iPad must have a Lightning port, devices with the bigger 30-pin dock connector—such as the iPad 3, iPhone 4S, and previous devices—will not work.
- Connect your iPhone or iPad to your Mac normally first. Use the same USB-to-Lightning cable that you’d use to charge or connect your device to iTunes on your Mac.
- To ensure that your Mac can see your connected device, unlock your iPhone or iPad, and launch iTunes on your Mac. Your iPhone or iPad may display a “Trust This Computer” alert. If you’re prompted to, agree to trust your Mac.
- QuickTime Player, which is included with macOS, has a recording feature. Although Apple produces a version of QuickTime for Windows, this capability is not included in that version.
- To record your iPhone’s screen, connect it to your Mac and open Spotlight search by pressing Command+Space. Enter “QuickTime” in the search box. You can alternatively go to Finder > Applications > QuickTime Player to start it.
- To begin recording video, go to File > New Movie Recording.
- A window will appear, by default displaying your Mac’s webcam. Select your iPad or iPhone by clicking the arrow next to the red Record button.
- You can also choose your preferred microphone from this menu. For example, you may capture sounds from a microphone attached to your Mac while recording a video of your device’s screen.
- The screen from your iPhone or iPad will display in a QuickTime window on your Mac. To begin recording, press the red Record button.
- When you do, you’ll notice that the time and file size start to grow as the recording progresses. The clock on your smartphone will be set to 9:41 am and the name of your cellular provider will be obscured until you stop recording to eliminate visual distractions.
- Click the Stop button when you’re finished. The video you captured will appear in the QuickTime window, and you can play it again by clicking the Play button.
- You can save your video after you’re done. Choose a file name and location by going to File > Save.
Leave a Reply